Blog
12 Essential Steps In The Process Of Car Detailing

New-age car owners seek various modern methods and techniques to maintain their cars brand-new, and one of the most sought after of these professional services is “Car detailing”, which can not just make your car look amazing, but also improve its resale value by protecting the paintwork and other aesthetical aspects.
Professional car detailing is a step-by-step deluxe treatment and unlike the regular washing of your car using soap or shampoo, it is a process that takes a lot of time and effort, which are undeniably worth the pro-results that it can yield. Let’s now have a look at the 12 Essential steps in the process of car detailing:
- Car Detailing Step 1: Wash
Wash the car using a proper car wash shampoo or soap. The “two-bucket wash method” is the most recommended as it protects the paint job of the car from scratch. One bucket can be used for rinsing with water and the other for mixing soap/shampoo and water. Use of wash mitt or microfiber towels is also advised.
- Car Detailing Step 2: Dry
Once the exterior has been properly washed and cleaned, you can dry the car using a blower or micro towels in order to avoid scratches and swirls. Microfiber towels can absorb water without damaging the paint and it’s ideal to use one for drying and the other for leftovers.
- Car Detailing Step 3: Clay
After drying the car and making sure that no water spots are left on the paint, using a clay bar, remove the microscopic contaminants and debris that washing alone can’t eliminate. While claying, shape it into a shape that comfortably fits within your hand and keep it well lubricated while using.
-
Car Detailing Step 4: Prep
Post claying, carefully wipe each area of the car to remove residue, and one of the best ways to further clean the paint of any residue is by using post-clay spirits or you can also choose to wash the car after claying.
-
Car Detailing Step 5: Inspect
After claying and prep, inspect the exterior of your car and see if its paint needs any correction or swirl removal. Using a xenon or powerful LED lamp, you can easily inspect for imperfections on the paint and locate swirls.
-
Car Detailing Step 6: Polish
Polishing is only a necessary step in case your car has scratches and swirls and a paint correction is required. If you are a newbie, you can use a dual-action polisher or a rotary buffer in case you are experienced, and buff out any marring not cleared up.
-
Car Detailing Step 7: Protect
Post polishing, apply wax, paint sealant, or both to protect the paint from harsh elements, and give the exterior a beautiful glaze. You can choose a particular wax according to your preference from the variants available in the market, and ensure that the surface remains shiny and lustrous for a long time.
-
Car Detailing Step 8: Interior
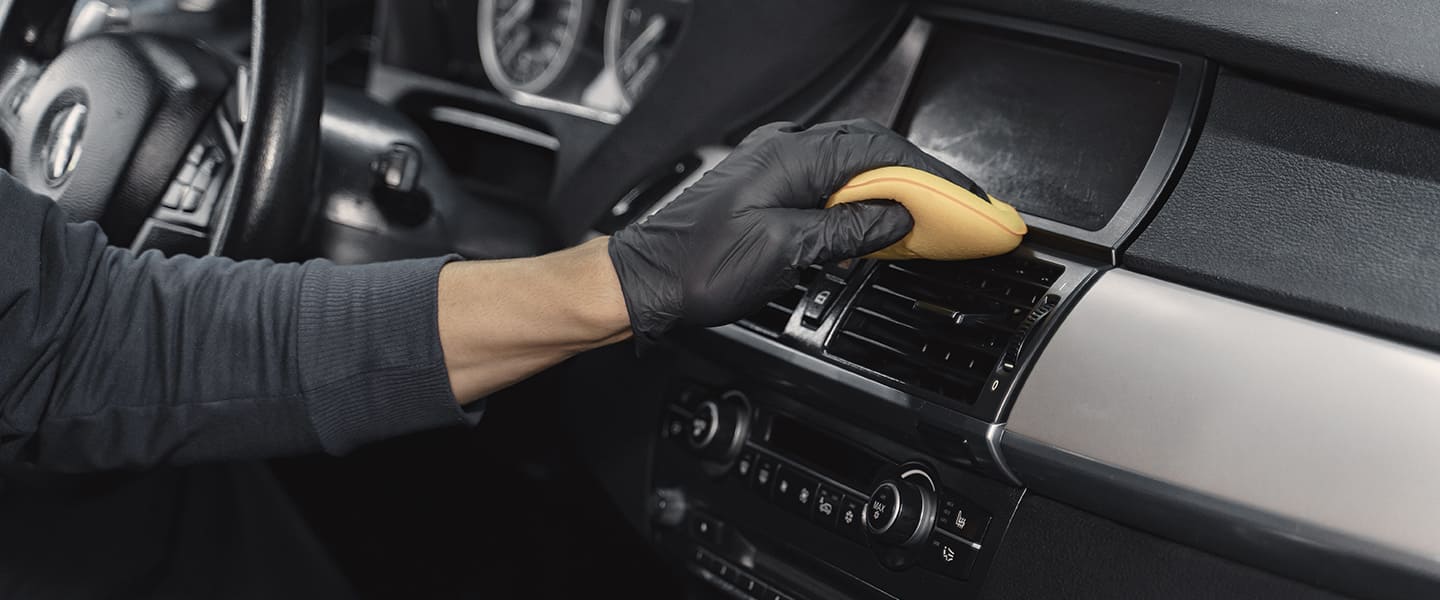
Now that the main exterior of your car is taken care of and it takes time for the wax layers to settle, let’s move to the car interior detailing. After removing all the carpets and vacuuming the surfaces, you can steam all nooks and crevices of the interior and later steam the carpets also. You can also use a quality interior trim protectant so that no sticky residues are left.
-
Car Detailing Step 9: Fabric
Once the cleaning of basic interior surfaces is over, using an upholstery cleaner, you can get rid of the stains, mud, and spills on your upholstery. Afterward, you can decide on a particular fabric treatment and apply it on the seats for good appearance as well protection.
-
Car Detailing Step 10: Wheels
Once you’re done with the interiors of your car, come back to the exterior and remove the wheels and clean them inside out. With wheels and tires being your car’s contact point with the road surface, these areas are undoubtedly the worst affected part with all the dust and dirt from everyday driving and hence deserve extra attention and effort.
-
Car Detailing Step 11: Glass
Glasses (Windshields, windows, headlamps, and tail lights) being the most fragile area of your car should be kept as the last area that you intend to clean. You can treat them with non-abrasive sealant recommended for glass and shiny hard plastics, which also adds UV protection and makes the surface slick.
-
Car Detailing Step 12: Details
Last but not least, the details of the car shouldn’t be missed out. Using a good degreaser, protectant, and cloths, you can clean and clay the door jambs, engine bay, and around or under the hood. Synthetic sealant or wax can also be sought for cleaning these areas.
Pal Auto Garage offers the best Car detailing in Dubai, UAE. We have most experienced professionals & equipment to provide you satisfying car detailing service in Dubai. Contact Pal Auto Garage for your next car detailing services.
Recent Posts

When it comes to luxury vehicles, understanding the fundamental components ...
Read more
Tesla has revolutionized the automobile industry with its cutting-edge elec...
Read more
When it comes to selling your car, every aspect matters. While many car own...
Read more
As a luxury car owner in the UAE, you understand the importance of maintain...
Read more
Owning a Tesla is a unique experience, offering a standout luxury drive, th...
Read more


